10 Ornamental Trees That Are Safe to Plant Near Your Home's Foundation
.jpg)
~4 mins
Wonder exactly what goes into a major backyard renovation?
Here’s your chance. We’ll walk you through a recent job we tackled for homeowners who wanted to completely redo their backyard, from an expansive new patio for entertaining to a cozy fire pit to a garden update.
We’ll show you the landscape transformation, week to week — and be sure to watch the accompanying video to see it all in action.
It all started with an in-depth landscape consultation with Outback landscape designer Kim Rubert, who spent time with the homeowners talking through their wants and needs.
The clients envisioned a big open backyard that looks bigger and cleaner with plenty of usable space.
On the wish list?
Once the backyard design was completed and approved, construction started.
Expect a bit of a mess.
It’s common for backyards to get overgrown. Plants outgrow their space. Some weren’t right for the spot in the first place.
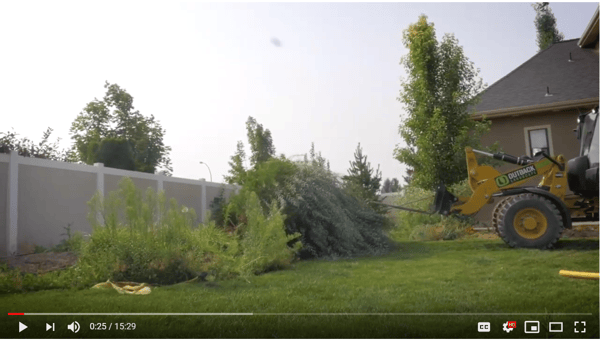
In this case, everything had to go, including some soaker hoses and and irrigation hoses that weren’t doing their job.
We’ll put in new drip irrigation with proper emitters sized for each plant so they get just the right amount of water.
Old wooden steps and landings are torn out, making way for new Belgard paver landings and elegant rounded steps that will match the new patio and provide a wider, more cohesive connection from the back doors to the patio.
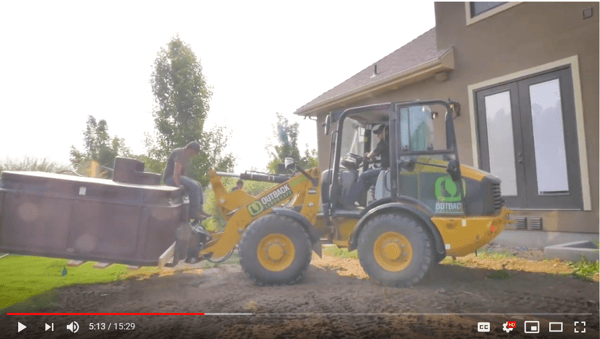
Demolition continues. You’ll see lots of dirt, big machines and guys with shovels.
The hot tub moves to the garage temporarily so crews can break up and remove the old concrete pad underneath. We’ll replace it with a deeper base to better accommodate the weight of the tub filled with water.
The homeowners want their garden area to remain, but want it cleaned up. Old plants come out, new ground covers go in.
We’ll add new irrigation spray heads, as well as crushed travertine for a nice walking path.
Reminder: your backyard renovation will look like a mess before it can look amazing.
Don’t worry about all the dirt, the huge tire tracks, the construction debris. It’ll all be gone by the end. When we give you a price for the job, it includes all cleanup. The only thing we’ll leave behind is the backyard of your dreams.
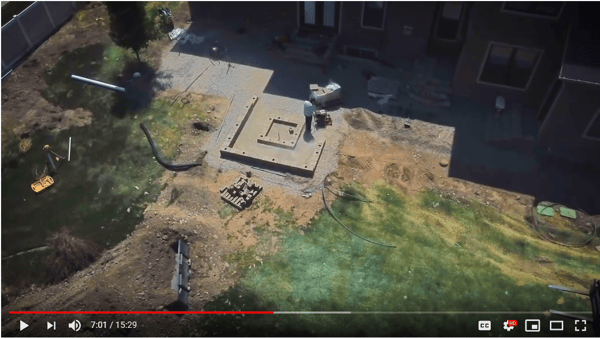
Crews have already made great progress.
The gravel “road base” is down for beneath the patio and has been compacted.
We start with eight inches of compacted road base and then add a couple inches of sand, followed by the pavers.
It’s crucial to install a really good base. If you see a patio that’s setting unevenly, it’s probably because the base wasn’t compacted correctly. With a paver patio the strength isn’t in the pavers — it’s in the base.
We compact the base three or four times in different directions with a plate compactor.
Once the pavers are in, we add more crushed sand, which will work its way between the paver joints. The jagged edges of the sand help the pavers lock together.
Then we seal it with a matte sealer. This will protect the pavers, keep ants from hanging out in the joints, and makes for a smooth finish so the homeowners can hose it off to clean it.
When crews removed the old wooden steps, they discovered ventilation vents, so they re-routed them so they exit neatly from the side of the new paver steps.
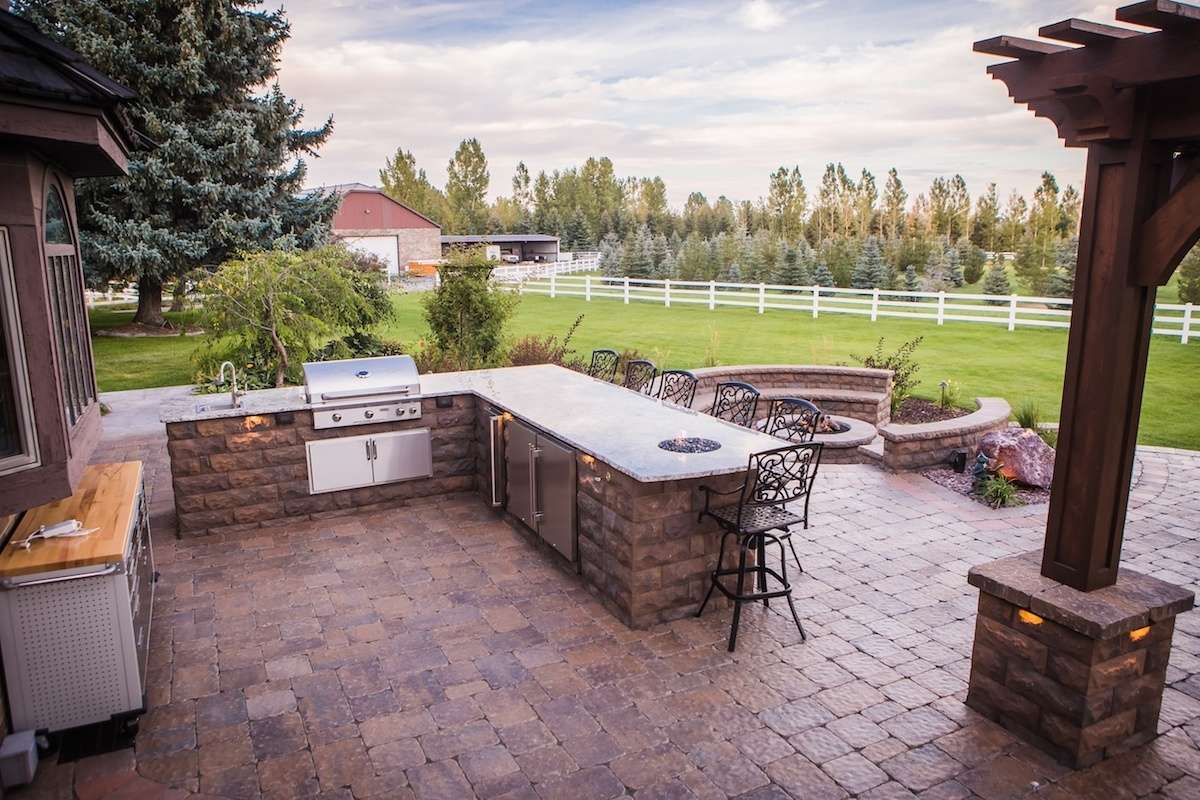
The homeowners want a fire pit, a must-have for great backyard entertaining. Warm, flickering flames offer the perfect gathering spot. They keep you cozy on a chilly night, extending the time you can enjoy beneath the stars.
The fire pit and built-in seating wall are nearly complete, with wiring run for LED lighting that will tuck neatly and discreetly under the cap. It’ll cast just enough light to see for assembling s’mores.
Built-in seating is great because it’s always there when you need it and you don’t have to lug it indoors for the winter.
The backyard renovation is really shaping up. Beds are planted, the hot tub is back in place, the pavers are sealed and look great.
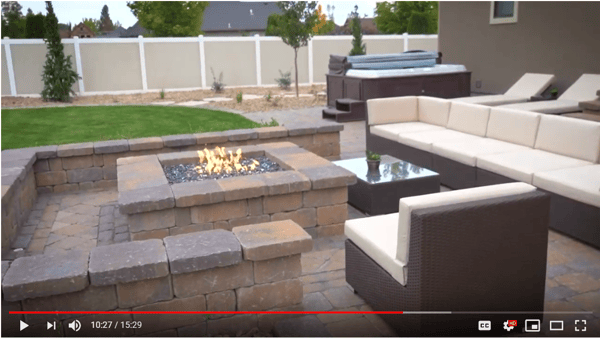
The big square fire pit is up and running, complete with intriguing black reflective glass that will reflect the dancing flames at night for a cool look.
Note the detailed inlays in the pavers around the fire pit for a high-end, custom look.
The nice wide paver steps are done, with plenty of room for decorative flower pots.
A timber frame pergola will go in later. The homeowners were smart to plan for this feature from the beginning, even though installation will happen later.
This way, we could prepare the ground for the pergola posts now, then cover them with pavers. When it’s time to construct the pergola, crews can just remove the pavers, exposing the holes for the posts to go in.
This is a lot easier and less expensive than cutting into the completed patio later.
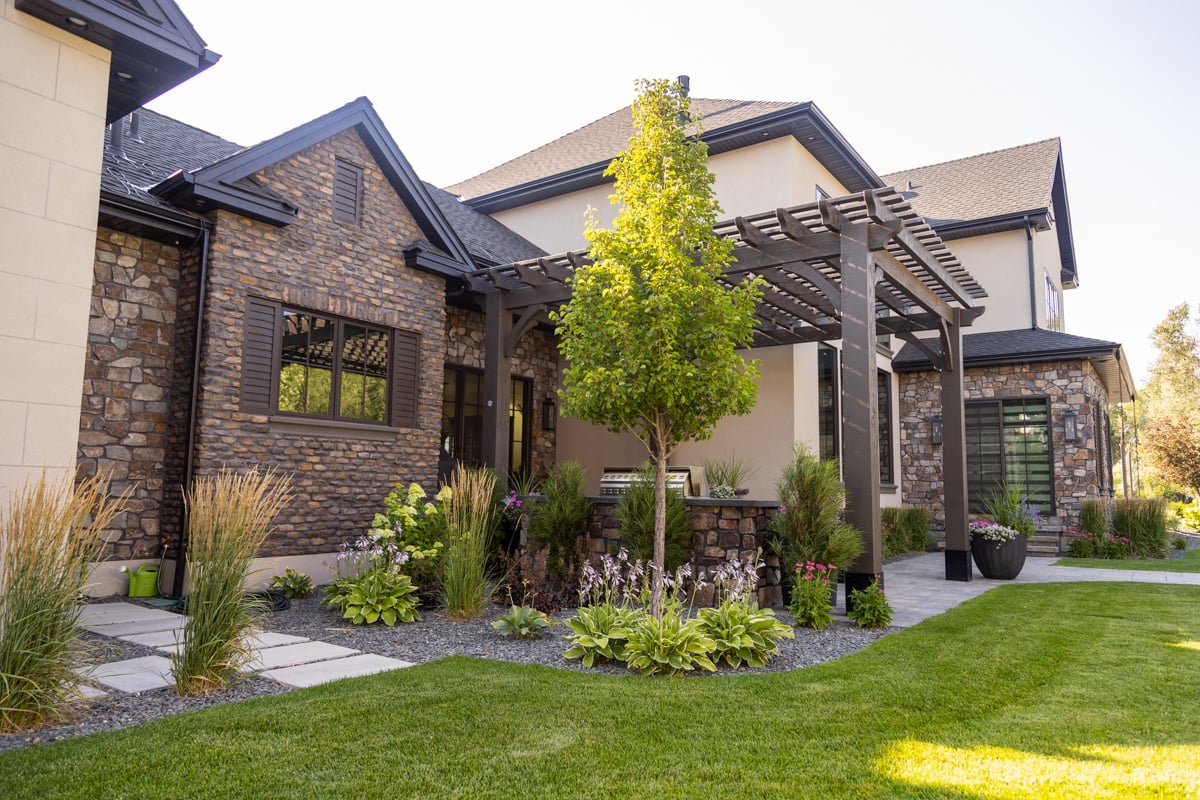
Landscaping is complete, with a classic boxwood hedge around various parts of the patio, fire pit and garage door.
Graceful feather reed grasses, colorful roses and tough, shade-loving hostas round out the new plants.
Privacy plants installed around the hot tub include a Chanticleer pear tree, some Limelight hydrangea that will grow to about six feet tall, and fragrant lavender.
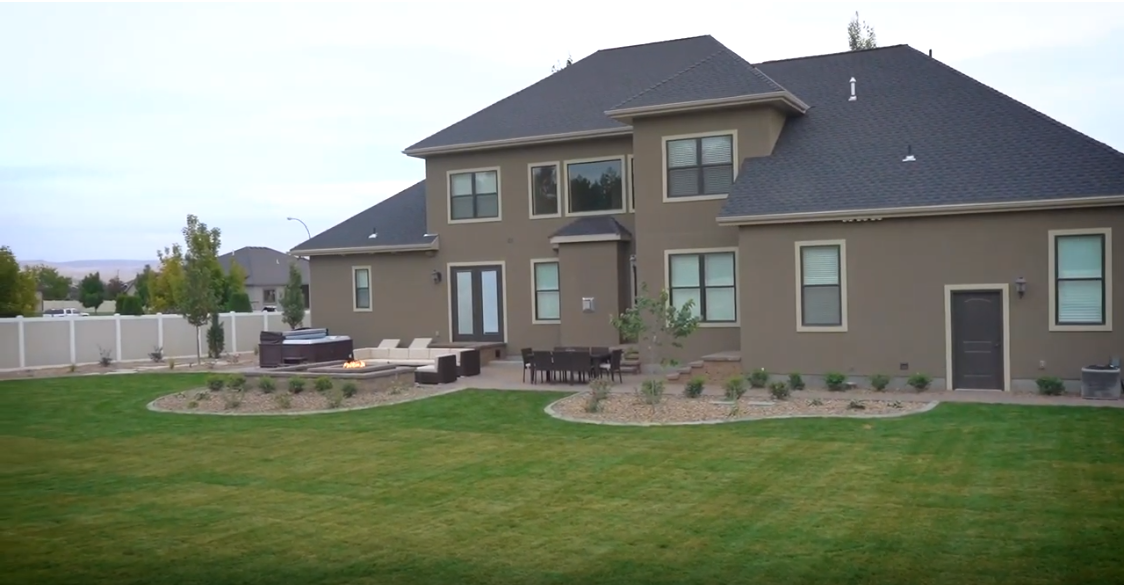
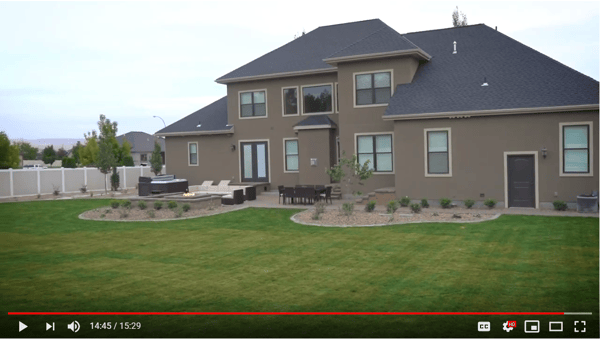
New sod gave the back yard an instant lush green carpet of lawn. New sod needs lots of water, so the homeowners had to water their new lawn two to four times a day for the first few weeks, to help the roots get established.
Luckily, a built-in irrigation system makes that easy. The homeowners had an existing sprinkler system, but with all the construction and major changes to the yard, it was easier and more cost effective to install a new one that perfectly accommodates the new landscaping.
Patio furniture is flexible and movable. If the homeowners are entertaining a crowd for dinner, they can scoot the couch out of the way to make room for more tables.
Bring on a summer of backyard relaxing, entertaining and fun!
Now that you know the steps involved in a backyard renovation, what are you waiting for?
We’d love to turn your backyard landscaping dreams into reality.
Located in Idaho Falls, Idaho, we serve residential and commercial properties in Idaho Falls, Rexburg and Pocatello, Idaho, as well as Bonneville, Madison and Bannock counties.
Contact Outback Landscape at 208-656-3220, or fill out the contact form to schedule an onsite consultation.
We’d love to hear from you.
.jpg?width=480&name=Chase%20Coates%20Team%20Portrait%202%20(2).jpg)
Chase founded Outback Landscape in 2003 and has grown it into a regional leader in design, construction, and maintenance. As President, he drives strategy, ensures quality, and builds the systems that allow Outback to deliver excellence at any scale.